
Rice Pilaf is a light, fluffy, and flavorful rice dish cooked with broth and aromatic seasonings. Learn how to make perfect rice pilaf with simple ingredients, helpful tips, and step-by-step instructions.

What Is The Rice Pilaf
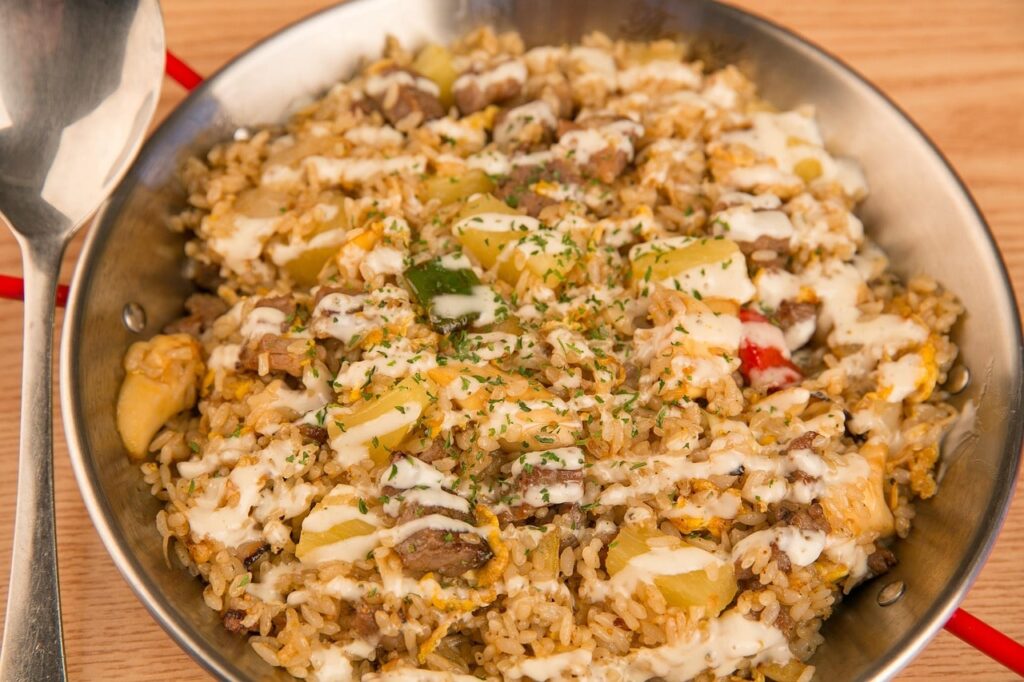
Rice Pilaf is a flavorful rice dish where the grains are first sautéed in butter or oil and then cooked in broth (instead of plain water). Instead of trying to make the rice sticky, this method makes it light, fluffy, and scented.
01. Key Features Of Rice Pilaf
- Rice is toasted before cooking → gives a nutty flavor.
- Richness and depth are added when cooked in broth →.
- contains numerous dried fruits, nuts, onions, and spices.
- Instead of becoming mushy, each grain remains distinct.
02. Where It Comes From
Rice pilaf has Middle Eastern and Central Asian origins.
The word pilaf / pilau / pulao is used in many regions:
- Middle East
- Turkey
- India & Pakistan
- Central Asia
All have similar techniques but different seasonings.
03. Why People Adore Pilaf With Rice
This same texture is fluffy as well, and the flavor is rich but mild. Almost any curry, grilled meat, stew, or vegetable dish combination goes well with it.
04. In Basic Terms
Rice pilaf is decided to made of light, flavorful rice which has been cooked in broth with sautéed aromatics and mild spices.
Rice Pilaf’s Health Benefits
01. Offers Long-Term Energy
Carbohydrates, which provide your body with coherent energy, are discovered in rice.
This makes pilaf great as part of a balanced meal.
02. Easy To Digest
Pilaf is usually light and gentle on the stomach.
Ideal and for those with sensitive intestinal tracts trying to seek a straightforward meal.
03. Better Nutrient Absorption
Because rice is cooked in broth (vegetable or chicken), it absorbs:
- Minerals
- Vitamins
- Flavor compounds
making the dish more nourishing than plain rice.
04. Lower Oil Compared To Fried Rice
Pilaf uses only a small amount of butter or oil to toast the rice—
much less than fried rice, which uses more oil.
05. Can Include Healthy Add-Ins
Adding nuts (almonds, cashews, pistachios) provides:
- Healthy fats
- Protein
- Vitamin E
- Magnesium
Adding raisins or vegetables adds:
- Fiber
- Antioxidants
06. Gluten-Free By Nature
Since it’s made from rice, pilaf is naturally gluten-free, suitable for people with celiac disease or gluten intolerance.
07. Can Support Heart Health
If made with:
- Olive oil instead of butter
- Low-sodium broth
→ it can be a heart-friendly side dish.
08. A Healthier Way To Make Rice Pilaf
- For further fiber and slow-release energy, use brown rice instead of white rice.
- To enhance nutrients, include veggies like bell peppers, carrots, and peas.
Tips For Making The Best Rice Pilaf
01. Rinse The Rice Well
- Rinse under cold water until the water runs clear.
- Prevents sticky rice by eliminating excess starch.
02. Toast The Rice Before Adding Liquid
- Sauté the rice in butter/oil for 2–3 minutes.
- This keeps the grains apart, generating a nutty smell and taste.
03. Use Broth Rather Than Water
- Additional flavor is added with chicken or vegetable broth.
- Reduce the added salt a little if you’re using broth.
04. Keep The Proper Ratio
- Standard ratio: 1 ½ cups rice : 3 cups liquid.
- Too little water pumps in hard grains; too much in mushy grains.
05. Don’t Stir While Cooking
- Once you add liquid and cover, do not stir.
- Grain failure mode and stickiness have up caused by stirring.
06. Low And Slow Simmer
- Cook on low heat with the lid on.
- This allows even cooking.
07. Let It Rest After Cooking
- After the heat is off, keep covered for 5 minutes.
- Steam enhances texture and completes cooking.
08. Fluff With A Fork
- Use a fork to gently fluff the rice.
- Don’t press or mash.
09. Finally, Add The Nuts And Herbs.
- After cooking, add the separately buttered nuts.
- Herbs like dill, coriander, and parsley improve flavor.
10. Optional Add-Ins For Extra Flavor
- Carrots, peas, cinnamon stick, cloves, bay leaf, or cumin.
- To retain the unique taste of pilaf, even so, keep it light.
FAQ: Pilaf Rice
01. What Is Pilaf Made Of Rice?
In rice pilaf, the grains are cooked in broth after being sautéed in butter or oil. The rice does have a rich flavor and a light, fluffy texture thanks to this method.
02. What kind Of Rice Works Best For Pilaf?
Because it cooks up fluffy and separate, instead of sticky, long-grain rice (like basmati or jasmine) works best.
03. Is It Possible To Substitute Brown Rice For White Rice?
Likewise. More fiber and nutrients are added by brown rice.
But still, it necessitates a longer cooking time and more water.
04. What Is Causing The Mushiness Of My Rice Pilaf?
Typical causes:
- Too much water
- Rice stirring during cooking
- Rice is not rinsed before cooking.
Once simmering, try to lower the water and also don’t stir.
05. Is It Possible To Prepare Pilaf Without Broth?
Water is used, but broth keeps adding a profound flavor to the dish.
Add so much seasoning when you’re using water.
06. How Can I Make Pilaf Taste Better?
Try including:
- Onions sautéed
- Garlic
- Spices, including cardamom, cinnamon, cumin, or bay leaf
- Raisins or toasted nuts
- Fresh herbs, including coriander or parsley
07. Is There No Gluten In Rice Pilaf?
As long as the broth is indeed free of gluten additives, the pilaf is naturally gluten-free.
08. What Foods Go Well With Rice Pilaf?
Rice pilaf goes great with:
- Fish or chicken on the grill
- Curry recipes
- Vegetables that have been roasted
- Kebabs and stews
- Salads
09. Can You Reheat Rice Pilaf?
Likewise. To retain moisture, cover and gently reheat with a splash of water.
Stovetop or microwave works fine.
10. Is It Possible To Add Veggies To Pilaf?
Of course! Peas, carrots, bell peppers, green beans, and mushrooms are prevalent add-ins.
Rice Pilaf
Ingredients
- 1 ½ cups long-grain rice (basmati works well)
- 3 tablespoons butter or oil
- 1 small onion, finely chopped
- 2 cloves garlic, minced (optional)
- 3 cups chicken or vegetable broth (or water)
- 1 teaspoon salt (adjust to taste)
- ½ teaspoon black pepper
- 1 bay leaf (optional)
- ¼ cup toasted nuts (almonds, cashews, or pistachios) – optional
- 2 tablespoons raisins – optional
- Fresh parsley, chopped (for garnish)
Instructions
Rinse The Rice:
- Rinse rice under cold water until the water runs clear. Drain and set aside.
Sauté The Onion:
- In a saucepan, heat butter or oil over medium heat.
- Add onion and cook until soft and lightly golden (about 4–5 minutes).
- Add garlic and cook for 1 more minute.
Toast The Rice:
- Add the rinsed rice to the pot and stir for about 2 minutes.
- This helps coat the grains and gives a nutty flavor.
Add Broth & Seasoning:
- Pour in the broth or water, add salt, pepper, and bay leaf.
- Stir once, then bring to a gentle boil.
Simmer:
- Reduce heat to low, cover the pot, and cook for 15–18 minutes
- or until liquid is absorbed and rice is tender.
Rest:
- Turn off heat and let the rice sit covered for 5 minutes.
Fluff & Garnish:
- Remove bay leaf. Fluff rice with a fork.
- Stir in toasted nuts and raisins if using.
- Top with fresh parsley.
-
Rice Pilaf
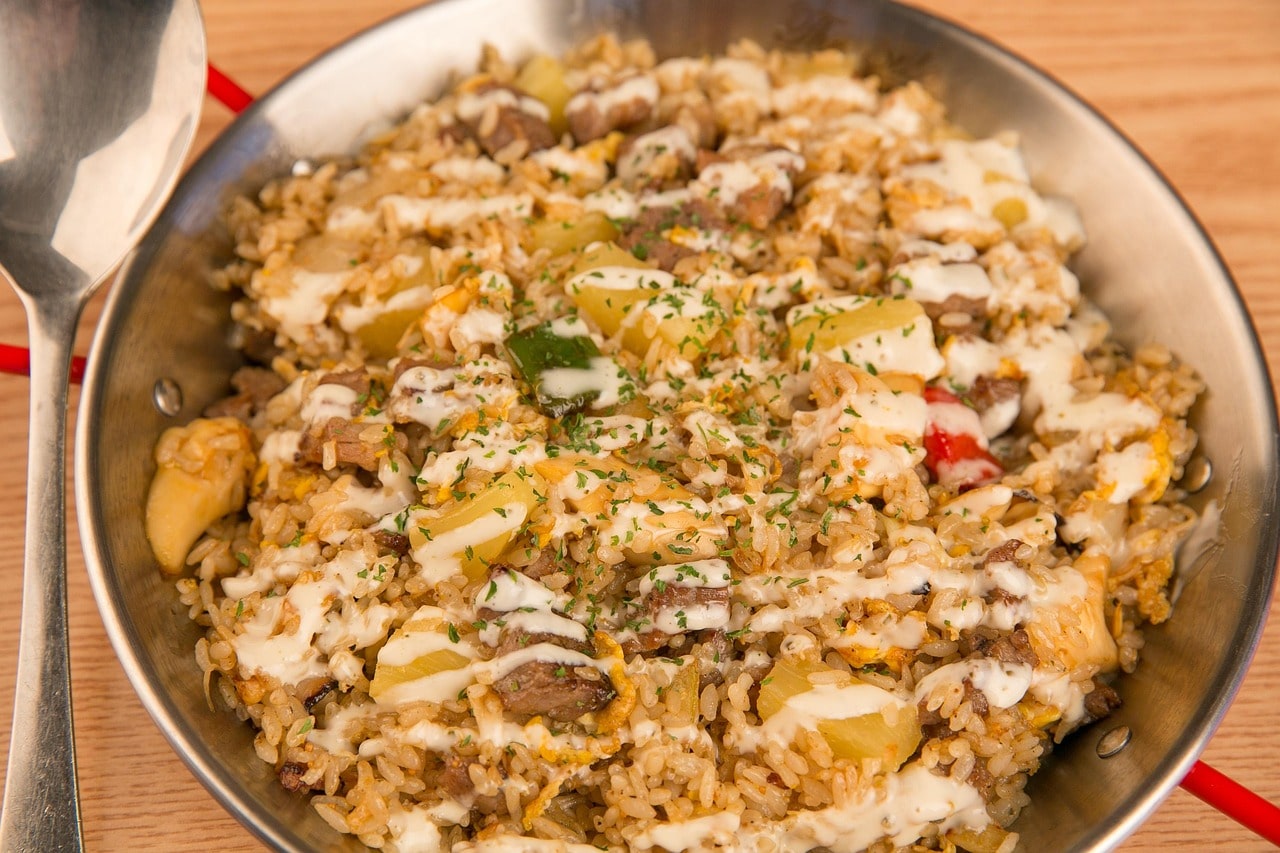
Rice Pilaf is a light, fluffy, and flavorful rice dish cooked with broth and aromatic seasonings. Learn how to make perfect rice pilaf with simple ingredients, helpful tips, and step-by-step instructions. What Is The Rice Pilaf Rice Pilaf is a flavorful rice dish where the grains are first sautéed in butter or oil and then…
Leave a Comment